Using Yubikeys for SSH
Something I've been meaning to try for a while was using a physical MFA token in conjunction with SSH to secure connections to remote servers. I've been casually reading blogs on the subject, but it seemed to be a bit of faff surrounding the issue.
Then when the OpenSSH project released version 8.2 it came with support built-in and "only" like 2.5 years later I finally got around to try it out...
Part of the problem was to chose the "correct" or "best" key for the purpose. There are the Solokeys and the Nitrokeys and of course the Yubikeys. I found the offerings very confusing as they all support different things, the documentation is anywhere between vague and misleading, and I wasn't sure what was required for my SSH use case.
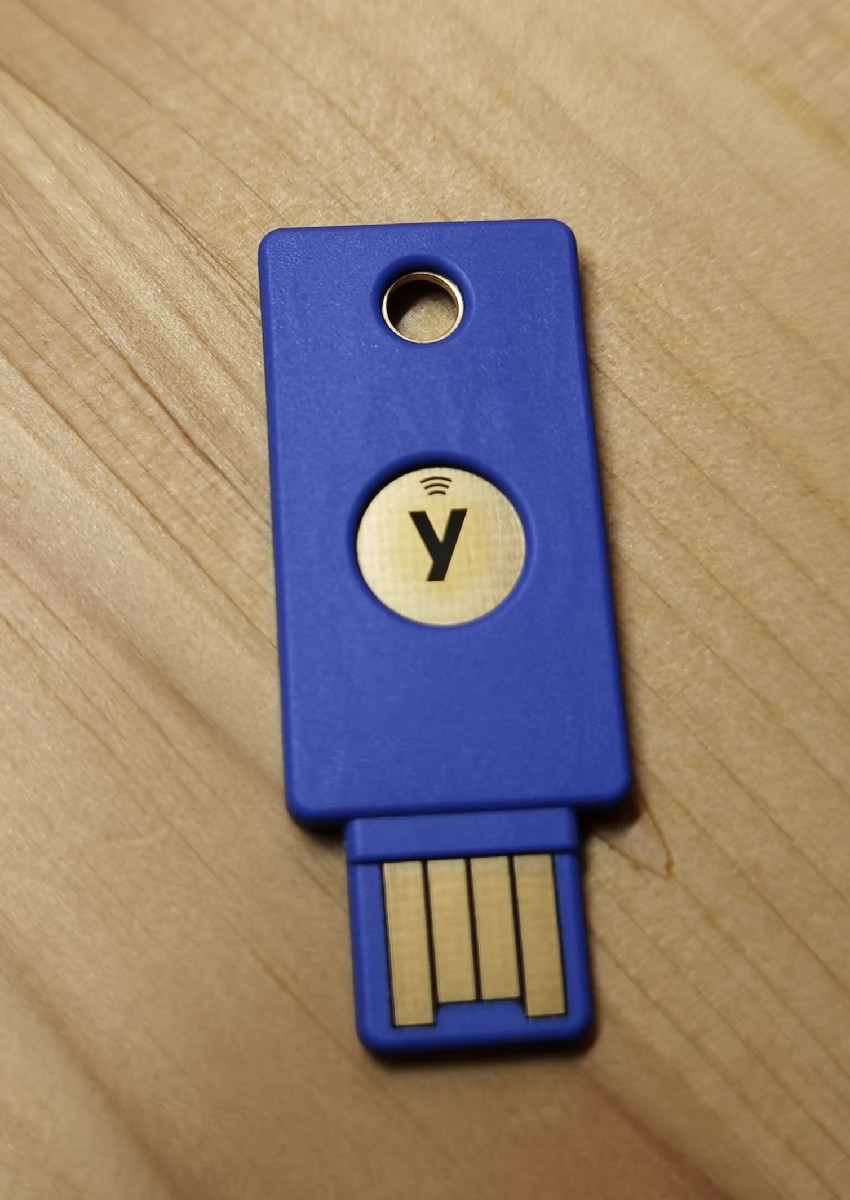
After some back and forth in the Fediverse I settled on the blue Yubikey 5 NFC as one of the cheaper options with enough functionality for the use case plus NFC built in so it could also be used wirelessly, e.g. with a smartphone.
For the purpose of this discussion I am referring to the Yubikey as the "authenticator" so as not to confuse matters with the SSH "keys".
Setting Up the Authenticator
The blue series 5 authenticators only support FIDO universal second factor (U2F), so setup
is easy. First ensure that the yubikey-manager package is installed, which
pulls in a few dependencies. This is a management application for the CLI
written in python. While you're at it, also install libfido2 which is the FIDO2
middleware that will be required for SSH in a moment.
Now plug in the authenticator and look at the lsusb output to see it is being recognized
(the blue LED will also flash shortly upon insertion).
The yubikey manager can be used to examine and configure settings in the device, for example:
# show plugged in yubikeys
$ ykman list
# show info on supported functionalities
$ ykman info
Device type: Security Key NFC
Firmware version: 5.4.3
Form factor: Keychain (USB-A)
Enabled USB interfaces: FIDO
NFC transport is enabled.

Applications    USB             NFC
FIDO2           Enabled         Enabled
OTP             Not available   Not available
FIDO U2F        Enabled         Enabled
OATH            Not available   Not available
YubiHSM Auth    Not available   Not available
OpenPGP         Not available   Not available
PIV             Not available   Not available
From this output it is clear that the cheaper blue device does not support advanced stuff like HSM or OpenPGP functionality. For that you need one of the more expensive versions; however, these don't all support U2F. So for this use case for once it's probably best to go cheap.
The Yubikeys do not come with a preconfigured FIDO PIN, so we need to set one using
ykman fido access change-pin and then typing in a passphrase up to 63 characters
long.1
Put that passphrase into your password safe! If you lose it, you can only reset the key, wiping resident keys and invalidating enrollments everywhere.
Generating SSH Keys
We're now ready to generate SSH keys. This can be done with ssh-keygen -t
ecdsa-sk (or -t ed25519-sk). For this key type, setting up the FIDO PIN would
not have been necessary as it doesn't get saved onto the authenticator. The
Yubikey's presence is necessary for the SSH key to be unlocked though, and the
SSH key's passphrase must be entered for unlocking it.
An interesting alternative is to generate a resident keypair. This can be done
with ssh-keygen -t ecdsa-sk -O resident (or -t ed25519-sk) and it asks for
the Yubikey's FIDO PIN, then stores the private ssh key into the Yubikey's flash
memory. The stored credentials can be listed like so:
$ ykman fido credentials list
Enter your PIN:
ssh: 0000000000000000000000000000000000000000000000000000000000000000 openssh
This really only shows a zero-padded slot number and the indication that it is an openssh key but it doesn't give any information on the stored key itself. This could become an issue if multiple keys are stored over time.
The main differences between a resident and normal key are that you don't need to leave a copy of your private key on the filesystem with the resident key, as it remains stored inside the authenticator. This makes it nicer in terms of handling if you work from different devices instead of having a fixed management workstation.
Loading the Keys
Load the "normal" keys into your ssh-agent using ssh-add -l <keyname>, as
usual, which will prompt for the SSH key's passphrase. Load the resident key
with ssh-add -K, which will prompt for the Yubikey PIN and then load the
resident keys from the authenticator into the ssh-agent.
Using the Keys
Add the public key to the remote user's authorized_keys file on remote servers
as usual. When ssh-ing into the server, the LED in the key will start to blink.
Touch to authorize and you're logged in.
The behaviour is the same whether you use resident keys on the authenticator or normal keys.
When using a "jump" or bastion host you can use ssh-agent forwarding2 via the
.ssh/config file:
Host example
  ForwardAgent yes
Just for the record, this does not only apply for interactive SSH sessions but for anything that uses SSH as the underlying transport; for example git push, scp, sftp, ...
Keys and Keys
So what have we learned?
-
A U2F authenticator key can be used to secure SSH key access, making it only a little less convenient compared to loading regular ssh keys into your agent. The added inconvenience is you need to touch the little brass contact area on the Yubikey to "release" access to the crypto module.
-
The blue Yubikeys are fine for that purpose, and the integrated crypto module is fast enough that there is no discernable delay other than the time you need to reach over and touch the device. If you use this a lot, a USB extension attached to the side of your keyboard would probably be a good idea.
-
If you use a bastion host which you access first to then connect to whatever systems you are managing, arguably it would be possible to only strengthen access to that bastion host with the authenticator, and then use the keys that are loaded into the ssh-agent on that bastion host to access the managed systems. This workflow should be governed by your organization's security policies.
-
For Internet-connected servers, restricting ssh to key-based authentication only and then securing your key with a U2F second factor is really nice and definitely worth the 25 Euros for the Yubikey.
Remember that having a second authenticator enrolled and ready to go in case the primary one breaks or is lost would be a really good precaution.
-
I absolutely HATE it when people talk about a PIN which stands for Personal Identification NUMBER but in fact you can use any alphanumeric characters. Guaranteed 3 out of 5 people will interpret this to mean only digits between 0 and 9 are acceptable, thus accidentally and catastrophically reducing entropy. ↩
-
however, make sure you are aware of the security implications of using agent forwarding. ↩