Using a Sun Keyboard under Linux
I got my start in system administration in the early 1990s, maintaining a university institute full of Sun Microsystems workstations. Those were the late days of the Unix wars, and the main contenders were Digital Equipment Corporation (DEC), Hewlett-Packard (HP), IBM, Silicon Graphics Inc. (SGI), and Sun. Sun were well-loved in the Universities - the machines weren't the greatest, neither was their software, but all around they had a reasonable package at a reasonable price.
One of the signature hardware products were the keyboards. Up to that point most of their machines were equipped with the Type 4 keyboards, but with the Sparcstations 10 and Classics came along the Type 5. I've always liked Sun keyboards mostly for their cluster of 10 so-called "Sun keys" to the left. They had useful functions like copy, paste, front, back, find, and others.
The Type 4s were foam-and-foil made by Keytronic, and they were reminiscent of the normal layouts of that time in that while they had a numpad and F-keys, they did not have the separate nav cluster that came around with the IBM PC/AT later. They were reasonably compact, typed and sounded OK, and they came with an optical mouse that required a special metal mousepad with a fine grid of dots to help the optical pickup determine movement. Those were the first-ever optical mice I'd seen, quite fascinating, but don't lose that pad as they didn't work on any other surface.
From the Type 5 onwards Sun changed to rubber dome + slider designs made by Fujitsu, itself a Sparc-licensed manufacturer of Sun clones, and they had the nav cluster and everything else one came to expect in a full-size keyboard of the day. Rubber domes are well-hated by mechanical keyboard afficionados (and I certainly prefer mechs myself), but the Type 5 is beautiful, well-made, and all around functional. It is often referred to as the most beautiful keyboard ever made.
It is also LARGE; it has a commanding presence on the desk. Sort of the Sun version of the IBM Type F and M battleships but with a much more silent and soft sound. 60% fans definitely need not apply. It is nearly double the size of a Keychron Q2. Here's a video review by Thomas Ran.
When the Sun Ultras rolled around the bean counters got to the new Type 6 they came with. It was cheap, ugly, and awful. Everybody hated it. Being USB keyboards, people started swapping them for PC items. The horrors!
Then, with the Type 7 Sun regained some sense and returned to the Type 5 styling, but at a somewhat lesser quality.
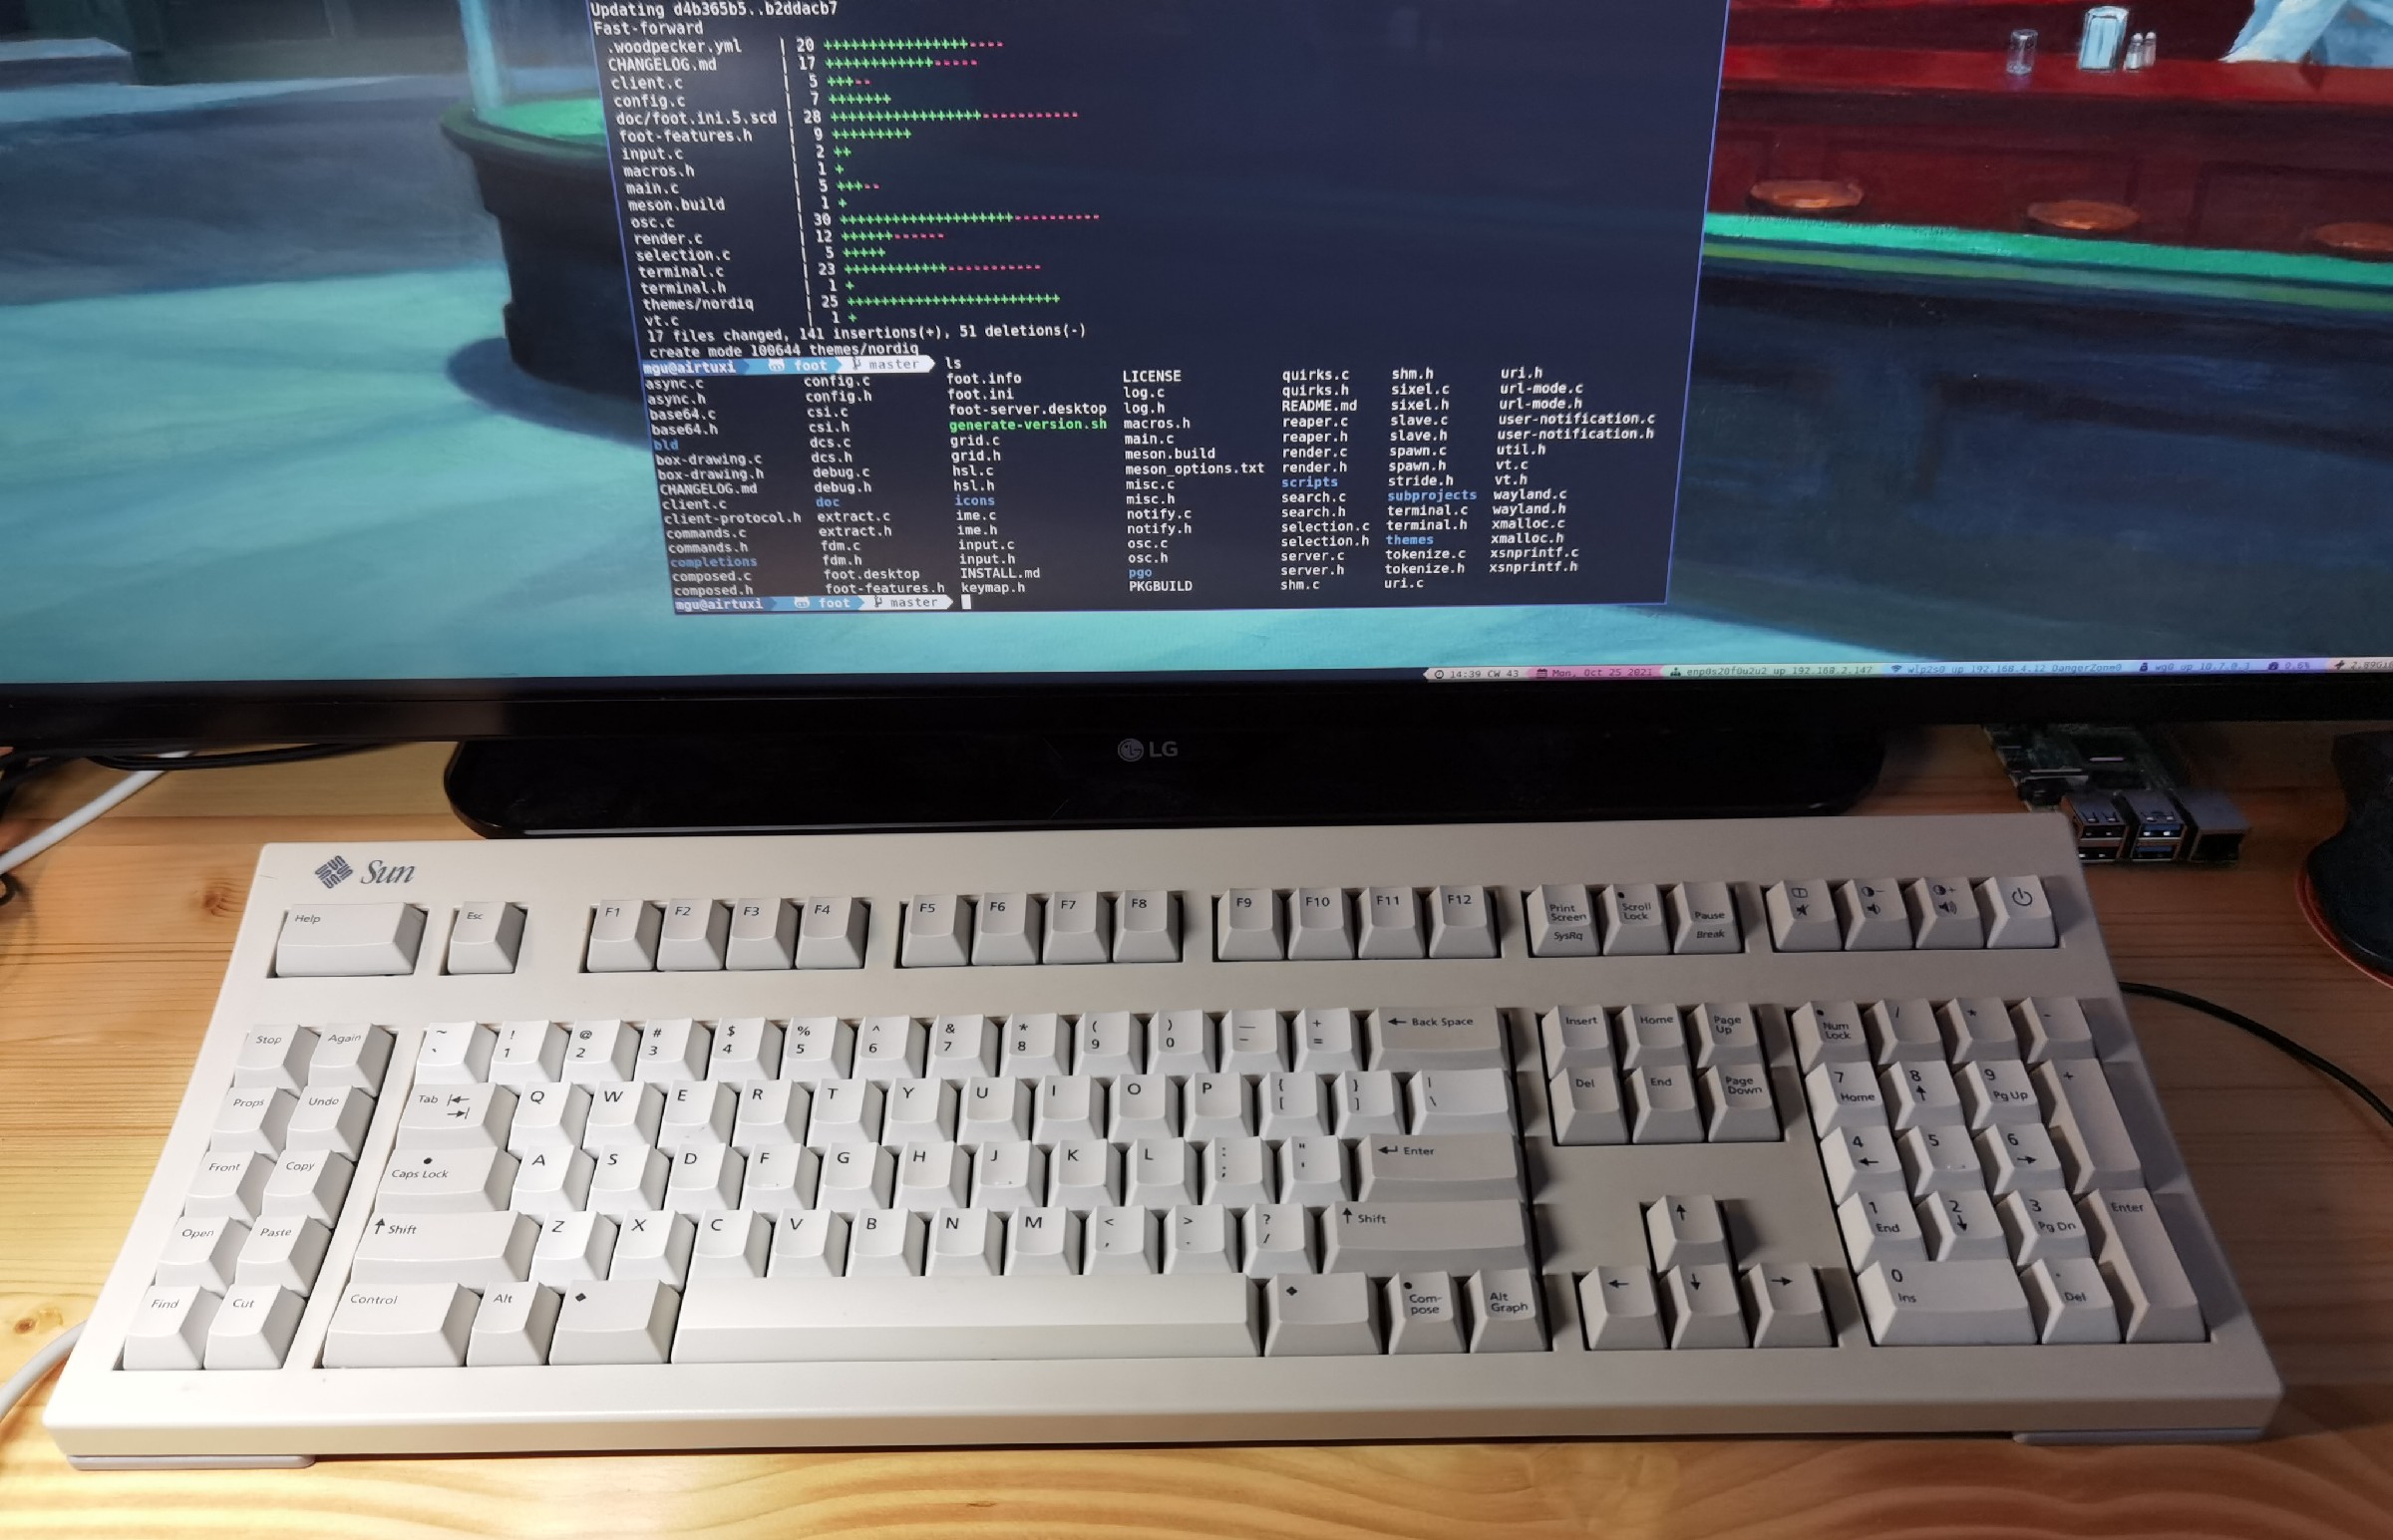
So the 5 is where it's at, and I wanted one on my desk. Look at this beauty:
For comparison, this is the Type 7. It looks less monolithic, a little bit more rounded, but with the same layout. The typing experience is quite different though, and not in a good way:
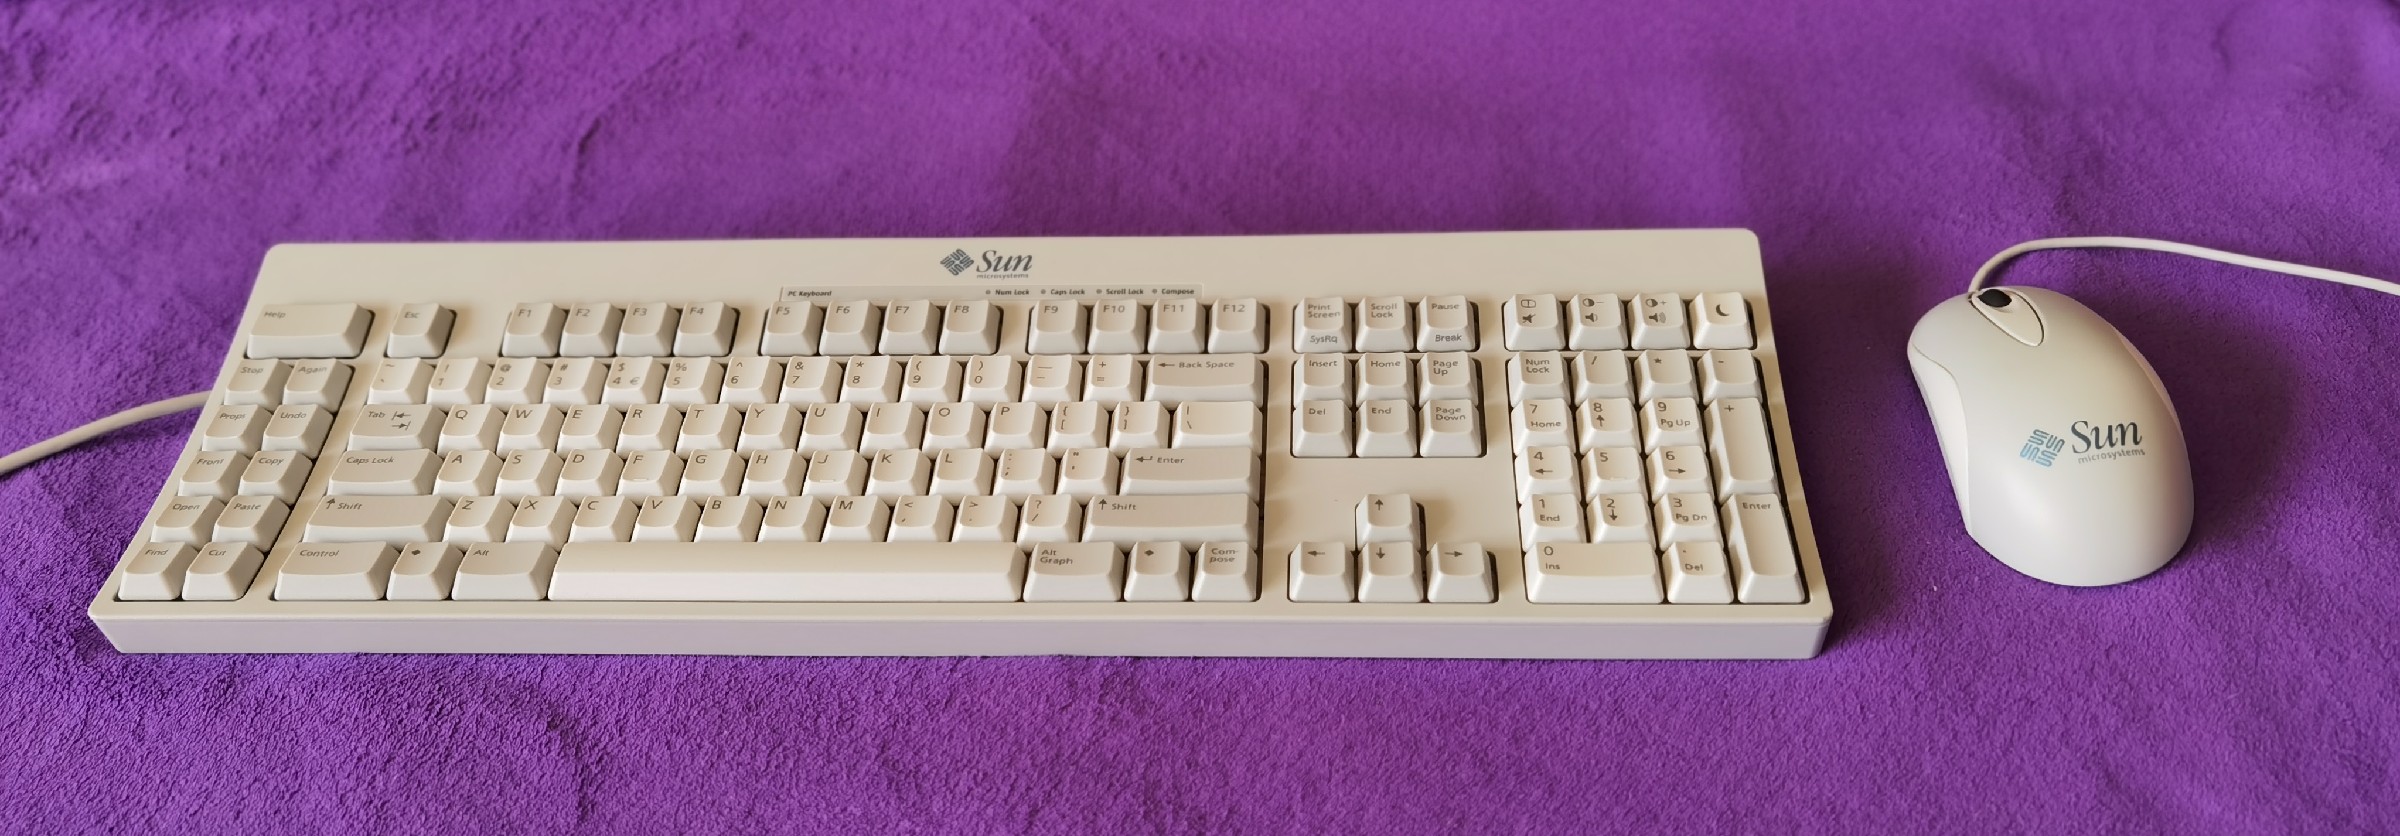
That mouse is pretty good, got to give them that. Especially if you have large hands, which it seems these keyboards were designed for in the first place.
Getting Hold of One
I got one each new old stock (NOS) Type 5c and Type 7 in US-Unix (ANSI) configuration. These are still sold by used equipment resellers, either direct or via Ebay.
Sun used to supply so-called "Country Kits" with new workstations, consisting of the keyboard in localized configuration, the proper power cord for the workstation, the optical mouse and a Sun-designed mouse mat, plus documentation. It all came in one box. The US-International Type 5c was the X3575A, while the Type 7 was X3731A (US Canadian) or X3868A (European Universal). True collectors try to get the complete kit, but unless you want the mouse it'll be sufficient to just get the keyboard itself. They tend to fetch top dollar, but keep your eyes open and you might be able to find ones in good condition starting around 50 Eur for the Type 7, and around 80 Eur for the Type 5s.
My keyboard is a Type 5c, which has a captive cable with a plug. The non-c has a detachable dual-plug cable and a socket built into the keyboard. Both have an additional socket for the mouse. There is a series of hidden DIP switches which can be used to change the layout though obviously getting the country kit will also ensure you have the right keycaps. Those are proprietary and are NOT MX-compatible. I have never come across a source for the keycaps, so if you need different types or spares your only option is to pilfer another keyboard as a donor. And no, none of the Type 5/6/7 keycaps can be used interchangeably.
The 5c was only supported on Solaris systems, while workstations running the older SunOS 4.x would only work with the earlier straight-5. For use with a PC there is no difference between the two versions and they are also the same quality - use whichever one you can get your hands on.
The Type 7 (and Type 6 before it) has a USB interface and can be used as-is, so you can skip the next section and go straight to Configuration.
The Type 4 and 5 come with Sun's proprietary Mini-DIN plug which looks similar to (but isn't) a PS/2 plug and, as it turns out, is essentially just a serial connection. Through the efforts of multiple people, generously shared on the Interwebs, getting them to work on a modern PC or Mac isn't too hard.
Arduino To The Rescue
The easiest option to connect the Type 5s' serial interface to a modern PC's USB port is to use an ATmega32u4 microcontroller, such as the 5V version of an Arduino Micro. These can be had on Ebay for cheap. Do get the 5V version, not the 3.3V version. Search for "Pro Micro ATmega32u4 5V 16MHz Arduino Leonardo compatible". They usually come with the pin headers separately which is advantageous since soldering the wires directly to the PCB makes for a more compact build. There is an onboard USB (usually micro) connector which is used both for the PC connection as well as to supply power to the microcontroller.
I didn't want to butcher up the keyboard so also got a Mini-DIN 8-pin socket to solder to the Arduino with short lengths of wire. These sockets are designed to be soldered directly to a PCB, but their pins are long enough so wires can be attached to them as well. Search Ebay for "Mini-DIN socket 8pin print metal PCB", they cost around 2 Eur. If you don't care about keeping things original then there is plenty of space inside the keyboard to put the Arduino, soldering it directly to the internal wiring without the need for a mini-DIN plug or socket, which makes for a very clean solution.
Assembly and the software is nicely described here.
This is the pinout for the Arduino and the socket:
Hardware adapter:

| Mini DIN plug   | Arduino |
|-----------------|---------|
| pin 1 - GND     | GND     |
| pin 3 - Vcc +5V | Vcc     |
| pin 5 - TX      | D9      |
| pin 6 - RX      | D10     |

Bottom view of plug:

-----------------
:               :
:  5 X     1 3  :
:               :
: X   X   X   6 :
-----------------
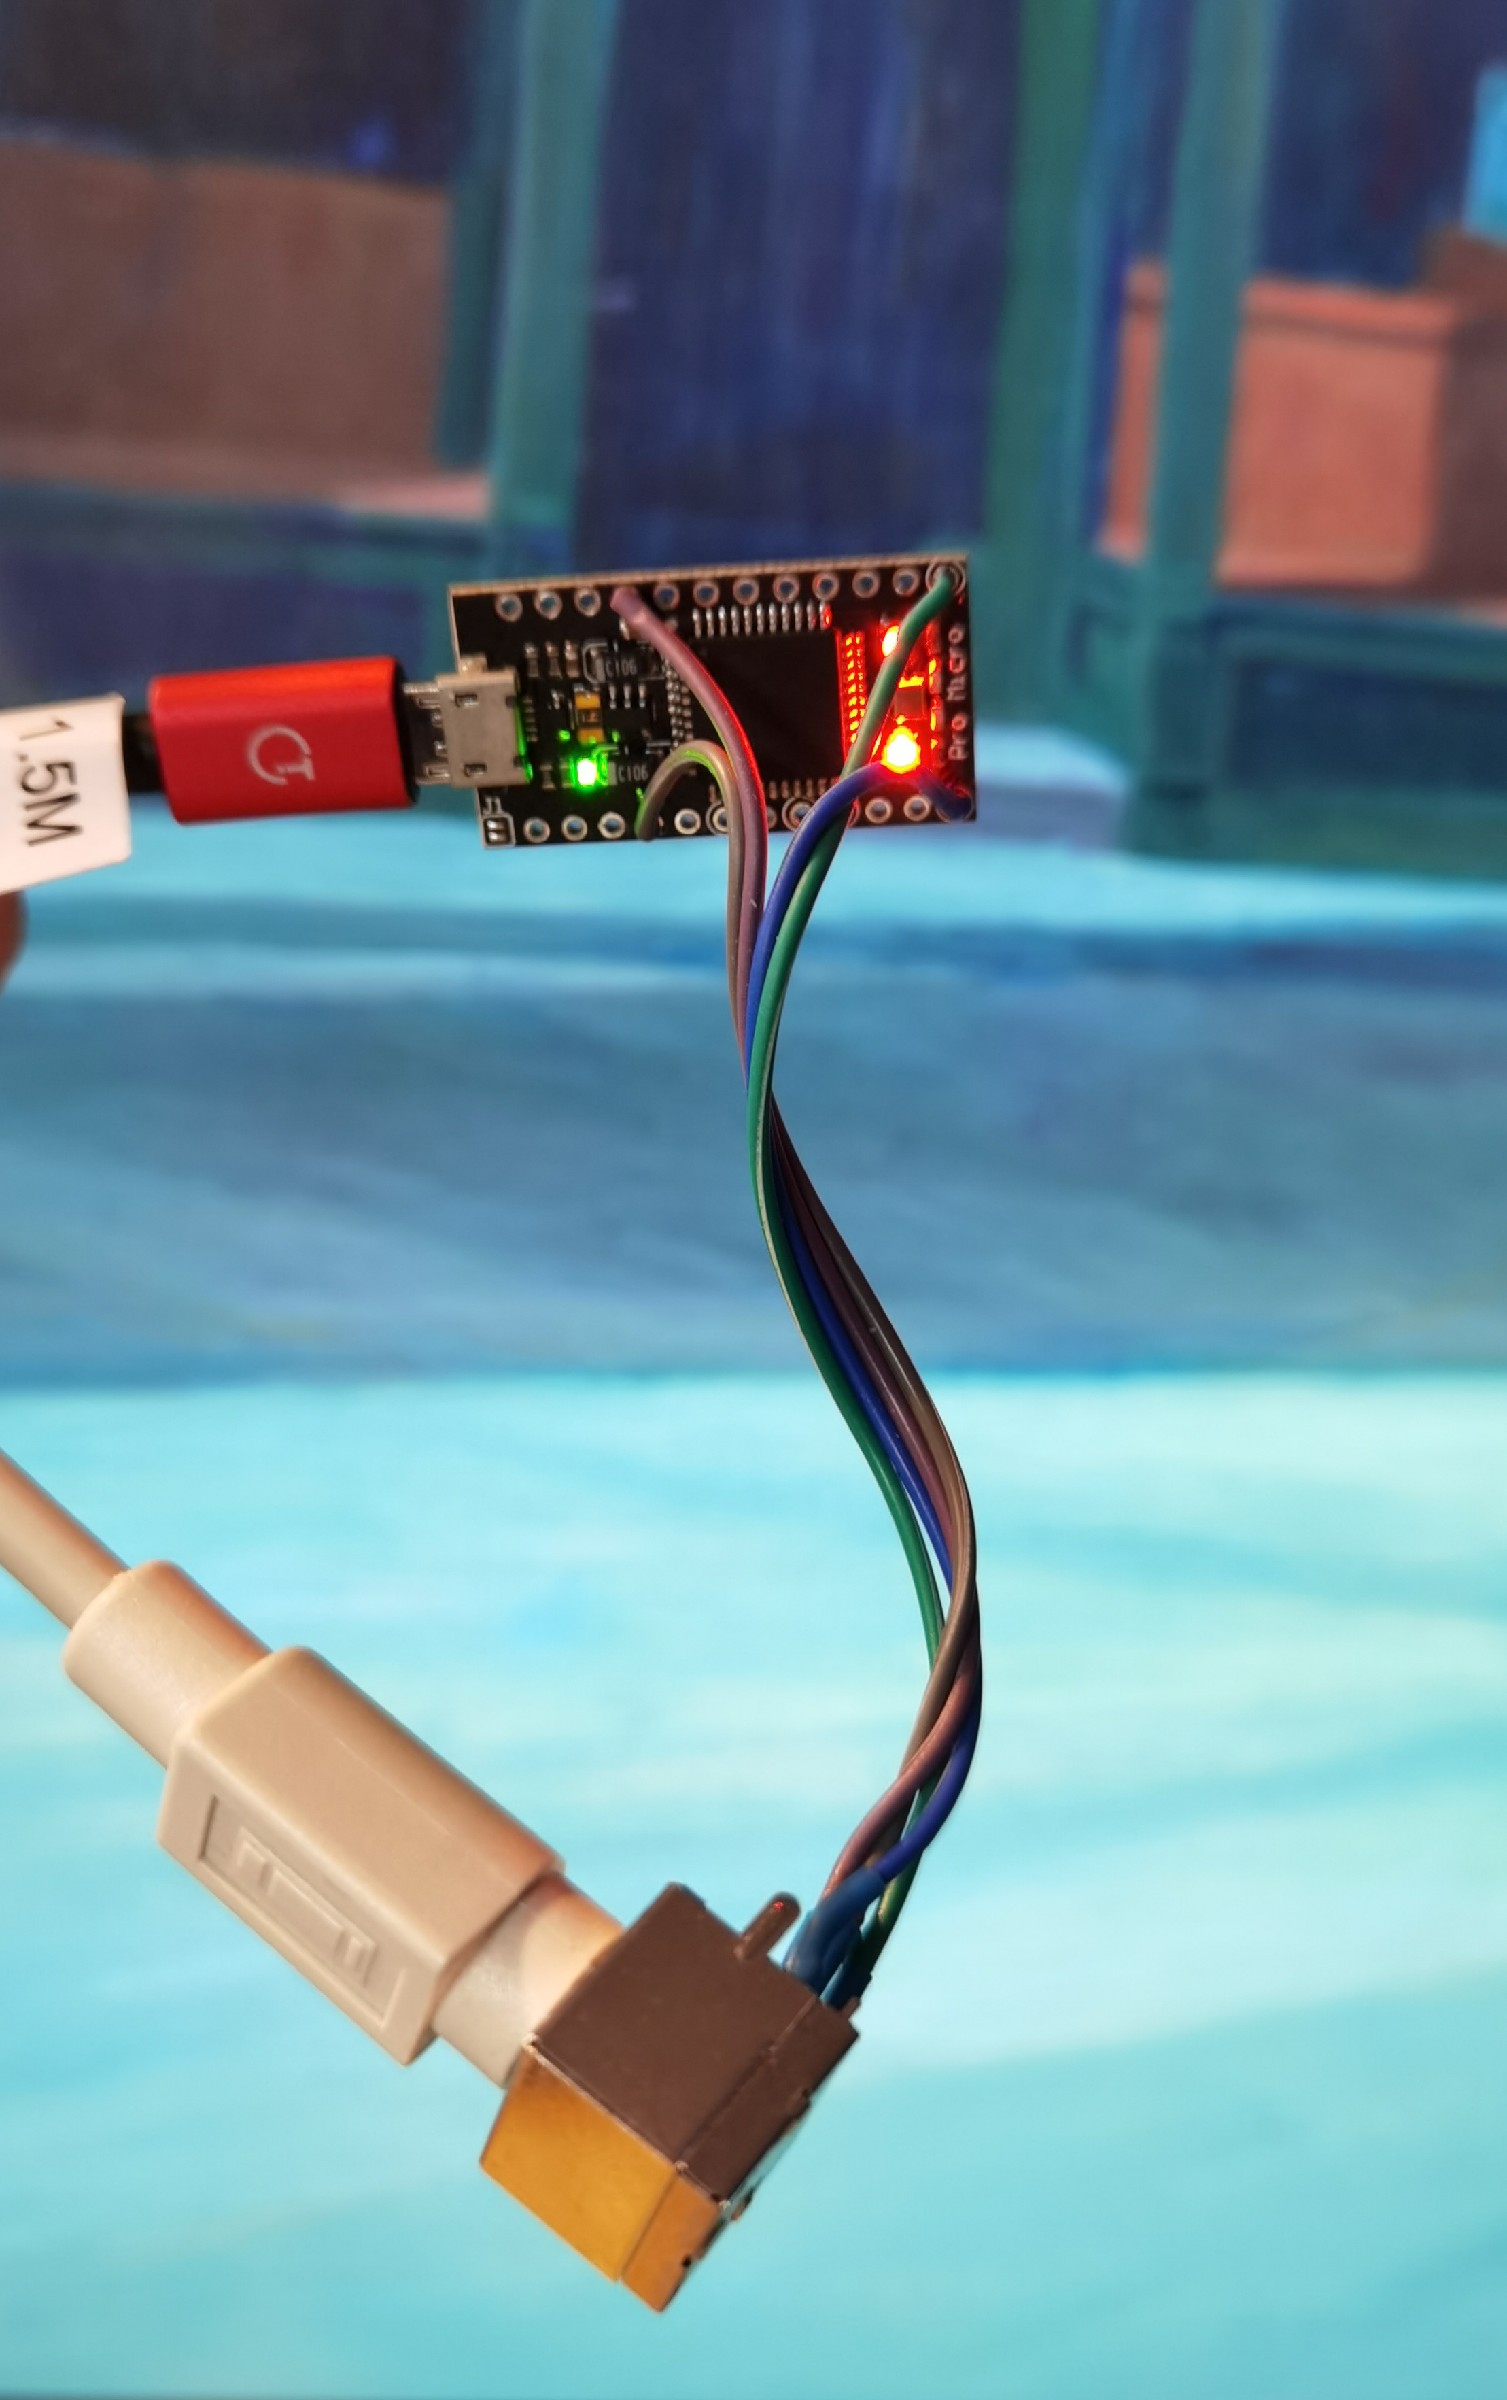
And this is what the final result looks like:
If you've never worked with an Arduino, here's what you need to know to get started:
Setting Up the Tool Chain
There is an Arduino IDE which you could use, but for this project setting up the CLI environment is easier. The steps are roughly the same, namely installing the software and adding support for the Arduino board.
Start by downloading the software from github and install it. Then run these commands:
# initial setup
arduino-cli config init
# update board list
arduino-cli core update-index
# install support for the Arduino Micro
arduino-cli core install arduino:samd
# list installed boards
arduino-cli board listall
That last command should show support for arduino:avr:micro, among many
others. If it doesn't, doublecheck the commands for errors and refer to the
getting started guide.
Building the Software
Now clone the software repo: git clone https://github.com/xelalexv/suniversal
and change into that directory. Make any changes you want in
suniversal/config.h as explained in the Readme.
Then it's time to compile it. This is simply a matter of executing:
$ arduino-cli compile -e --fqbn arduino:avr:micro suniversal
Sketch uses 9648 bytes (33%) of program storage space. Maximum is 28672 bytes.
Global variables use 896 bytes (35%) of dynamic memory, leaving 1664 bytes for local variables. Maximum is 2560 bytes.
which will compile the software and store the output in
suniversal/build/boardname/arduino.avr.micro/ underneath your current directory. Check the
files are there:
suniversal
├── build
│   └── arduino.avr.micro
│       ├── suniversal.ino.eep
│       ├── suniversal.ino.elf
│       ├── suniversal.ino.hex
│       ├── suniversal.ino.with_bootloader.bin
│       └── suniversal.ino.with_bootloader.hex
Uploading the Software
Now plug your Arduino into any available USB port. See that it shows up in
lsusb and determine the correct device to use by typing arduino-cli
board list:
~ $ lsusb
[...]
Bus 001 Device 002: ID 2341:8037 Arduino SA Arduino Micro
~ $ arduino-cli board list
Port         Protocol Type              Board Name    FQBN              Core
/dev/ttyACM0 serial   Serial Port (USB) Arduino Micro arduino:avr:micro arduino:avr
Then it's a simple matter of uploading the compiled program into the Arduino
like so, replacing /dev/ttyACM0 with the device listed in your output from the
previous step:
$ arduino-cli upload --port /dev/ttyACM0 --fqbn arduino:avr:micro ./suniversal
Connecting to programmer: .
Found programmer: Id = "CATERIN"; type = S
    Software Version = 1.0; No Hardware Version given.
Programmer supports auto addr increment.
Programmer supports buffered memory access with buffersize=128 bytes.

Programmer supports the following devices:
    Device code: 0x44
Testing
When the upload has finished unplug the Arduino, plug the keyboard into it, and
run journalctl -f in a terminal to show the system log. Then re-insert the
Arduino. You should hear first one beep, then a short while later two beeps and
see messages like this:
kernel: usb 1-3: new full-speed USB device number 29 using xhci_hcd
kernel: usb 1-3: New USB device found, idVendor=2341, idProduct=8037, bcdDevice= 1.00
kernel: usb 1-3: New USB device strings: Mfr=1, Product=2, SerialNumber=3
kernel: usb 1-3: Product: Arduino Micro
kernel: usb 1-3: Manufacturer: Arduino LLC
kernel: usb 1-3: SerialNumber: HIDFED
kernel: cdc_acm 1-3:1.0: ttyACM0: USB ACM device
kernel: input: Arduino LLC Arduino Micro as /devices/pci0000:00/0000:00:14.0/usb1/1-3/1-3:1.2/0003:2341:8037.0016/input/input41
kernel: hid-generic 0003:2341:8037.0016: input,hidraw1: USB HID v1.01 Mouse [Arduino LLC Arduino Micro] on usb-0000:00:14.0-3/input2
kernel: input: Arduino LLC Arduino Micro as /devices/pci0000:00/0000:00:14.0/usb1/1-3/1-3:1.3/0003:2341:8037.0017/input/input42
kernel: hid-generic 0003:2341:8037.0017: input,hidraw2: USB HID v1.01 Keyboard [Arduino LLC Arduino Micro] on usb-0000:00:14.0-3/input3
mtp-probe[295247]: checking bus 1, device 29: "/sys/devices/pci0000:00/0000:00:14.0/usb1/1-3"
mtp-probe[295247]: bus: 1, device: 29 was not an MTP device
upowerd[2564]: treating change event as add on /sys/devices/pci0000:00/0000:00:14.0/usb1/1-3
systemd-logind[2626]: Watching system buttons on /dev/input/event8 (Arduino LLC Arduino Micro)
Upon closer inspection you can see the Arduino identifying itself as two
devices, a keyboard and a mouse. This is the case even when mouse support is
disabled in the config.h. Alex's documentation has information on how to use
the Sun three-button mouse if you wish to do that. I decided not to and instead
use the USB mouse I got with my Type 7 keyboard, for the simple fact the Type 5
mouse doesn't have a scroll wheel.
Try hitting a few keys on your keyboard. All of the normal alphanumeric keys should work, as should the numpad (don't forget to enable Num Lock first, the LED embedded in the key should light up to show it's active).
Other Options
It should be said that there are also commercially available adapters if you'd rather buy than make. I have not tried one, they are somewhat expensive when shipped to Europe, but I do hear they work well. The Drakware ones especially are known to be quality items.
For more elaborate setups specialty KVM switches are available with integrated protocol converters. These can be used to attach multiple PCs, Suns, Macs, DECstations and other equipment to one or more sets of keyboards and mice, using different protocols. This can get expensive but is very flexible for things like a home lab, so might be worth considering as well.
Configuration
The hard part is done. All that's left is to configure the keyboard as an available input device in your window manager's configuration file. The following steps are the same for the Type 5s and Type 7.
Sway Inputs
Here's what I use under Sway, taking
note that I despise Capslock so have it mapped as an extra Control key via
ctrl:nocaps:
# Sun Type 5 USB Keyboard
input "9025:32823:Arduino_LLC_Arduino_Micro" {
    xkb_options ctrl:nocaps,compose:menu
}
# Sun Type 7 USB Keyboard
input "1072:162:Sun_USB_Keyboard" {
    xkb_options ctrl:nocaps,compose:menu
}
YMMV for other window managers. I did have a quick go under Gnome in Fedora 34, and it recognized the keyboard with basic functionality (including the media keys) automatically with no configuration changes necessary.
Compose Key
compose:menu enables another favorite feature of the Sun keyboards, the
dedicated Compose key under
right-Shift. These behemoths have keys for EVERYTHING! This one can be used to
"compose" special characters. For example, hit Compose (observe the LED in the
key lights up showing you it's armed), then " (quote), then the
letter a to make a lower-case a-umlaut: ä. Or compose - o - a gives the Swedish å.
Massively useful. In fact so useful I have Right-Alt (which is in roughly the
same position) mapped to Compose on all my other keyboards.
If you accidentally hit compose, hitting it a second time disarms it (the LED extinguishes).
Sun Keys in Sway
To make the Sun keys work put this into the Sway config:
# Help key brings up a dmenu
bindsym Help exec $HOME/bin/dmenu_keys
# Volume control keys
bindsym XF86AudioRaiseVolume exec --no-startup-id amixer -q set Master 2%+ unmute
bindsym XF86AudioLowerVolume exec --no-startup-id amixer -q set Master 2%- unmute
bindsym XF86AudioMute exec amixer sset Master toggle
Sun Keys in Foot
And to use the copy and paste keys inside your terminal emulator you have to configure appropriate mappings. For foot I use:
[key-bindings]
clipboard-copy=XF86Copy
clipboard-paste=XF86Paste
Again, YMMV for other terminals. Use xev to determine the proper key events
to listen for. Here is the output for all eleven (ten plus Help) of them:
# Help key
KeyPress event, serial 34, synthetic NO, window 0x400001,
    state 0x0, keycode 146 (keysym 0xff6a, Help), same_screen YES,
# Stop key
KeyPress event, serial 34, synthetic NO, window 0x400001,
    state 0x0, keycode 136 (keysym 0xff69, Cancel), same_screen YES,
# Again key
KeyPress event, serial 34, synthetic NO, window 0x400001,
    state 0x0, keycode 137 (keysym 0xff66, Redo), same_screen YES,
# Props key
KeyPress event, serial 34, synthetic NO, window 0x400001,
    state 0x0, keycode 138 (keysym 0x1005ff70, SunProps), same_screen YES,
# Undo key
KeyPress event, serial 34, synthetic NO, window 0x400001,
    state 0x0, keycode 139 (keysym 0xff65, Undo), same_screen YES,
# Front key
KeyPress event, serial 34, synthetic NO, window 0x400001,
    state 0x0, keycode 140 (keysym 0x1005ff71, SunFront), same_screen YES,
# Copy key
KeyPress event, serial 34, synthetic NO, window 0x400001,
    state 0x0, keycode 141 (keysym 0x1008ff57, XF86Copy), same_screen YES,
# Open key
KeyPress event, serial 34, synthetic NO, window 0x400001,
    state 0x0, keycode 142 (keysym 0x1008ff6b, XF86Open), same_screen YES,
# Paste key
KeyPress event, serial 34, synthetic NO, window 0x400001,
    state 0x0, keycode 143 (keysym 0x1008ff6d, XF86Paste), same_screen YES,
# Find key
KeyPress event, serial 34, synthetic NO, window 0x400001,
    state 0x0, keycode 144 (keysym 0xff68, Find), same_screen YES,
# Cut key
KeyPress event, serial 34, synthetic NO, window 0x400001,
    state 0x0, keycode 145 (keysym 0x1008ff58, XF86Cut), same_screen YES,
Systemd
A note of caution: on a Sun workstation the power key at the top right is configured to act just like the power key on a Mac: it will turn on the machine but will do nothing when the machine is running.
Using it to turn on the PC isn't possible with this solution, one would have to
do additional wiring for that. And by default the signal from the key will run
the poweroff command. That's usually not what you want, especially when
accidentally hitting it instead of one of the neighboring audio keys. So I
recommend to edit /etc/systemd/logind.conf and change this line to the action
you want, in this case "ignore":
# HandlePowerKey=poweroff
# HandlePowerKey=suspend
HandlePowerKey=ignore
This effectively disables it from a systemd perspective, but of course you can
map the key event in your window manager similar to what's shown above.